Sunday 19 February 2012

Needlekeep/Pinkeep

Materials needed:
  • Stitched piece
  • Contrasting backing fabric
  • Wadding
  • Cardboard
  • Cording
  • Ribbons
  • PVA glue/a hot glue gun

IMAG1799

Step 1 ~ Front panel start

Begin by applying glue to the card and press on two layers of wadding. If using PVA glue you will need to wait for the glue to dry before continuing.

IMAG1801 IMAG1802

Step 2 ~ Front panel

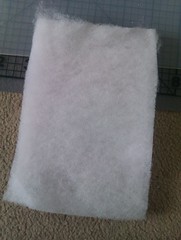
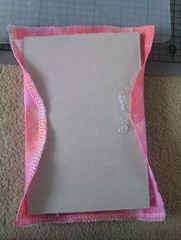
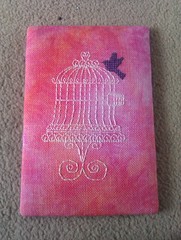
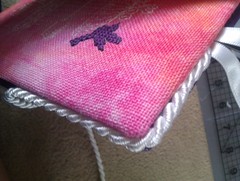
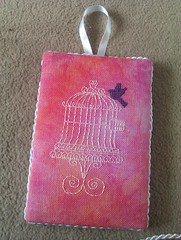
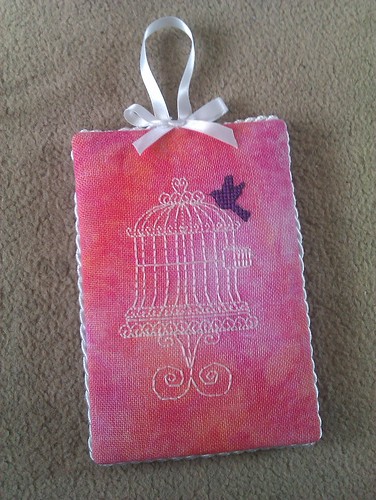
Position your finished stitching over the wadding and card, glue the sides and pull the fabric over tightly then continue with the top and bottom before neatening the edges. If using PVA glue you may need to peg the sides to hold it together whilst it dries.

IMAG1803 IMAG1804

IMAG1805 IMAG1806

Step 3 ~ Reverse panel

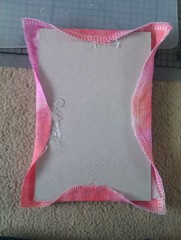
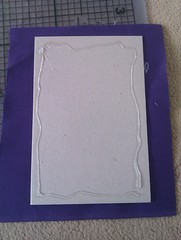
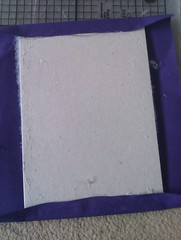
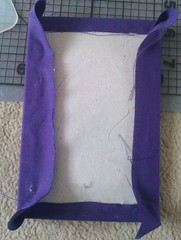
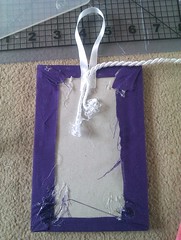
For the reverse panel follow the same steps as the front panel with only one layer of wadding. Top, bottom, sides and neaten the corners. Again peg to gold whilst drying when using PVA.

IMAG1807 IMAG1809

IMAG1810 IMAG1811

Step 4 ~ Attach a ribbon loop

Attach a loop of ribbon. I've stuck the beginning of my cording in-between to hold on to it whilst it is glued around the edge after.

IMAG1812

Step 5 ~ Sandwich

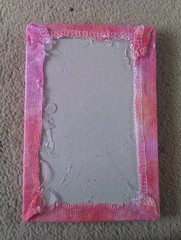
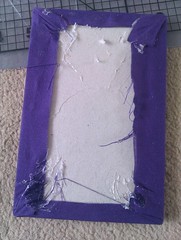
Apply glue to both halves and then sandwich together. If using PVA you will need to either peg together as before or apply a heavy weight (maybe a stack of books) just to make sure the two sides bond.

IMAG1813

IMAG1814

Step 6 ~ Cording

Glue cording all the way around. You may need to pin in place whilst waiting for PVA glue to dry.

IMAG1815

Tuck in the end of the cording.

IMAG1816

Step 7 ~ Add a bow and Finito!

Finally the pinkeep/needlekeep is finished with a bow!

IMAG1817